Shower Remodel Waterproofing: The Layers You Never See Again After Tile Day
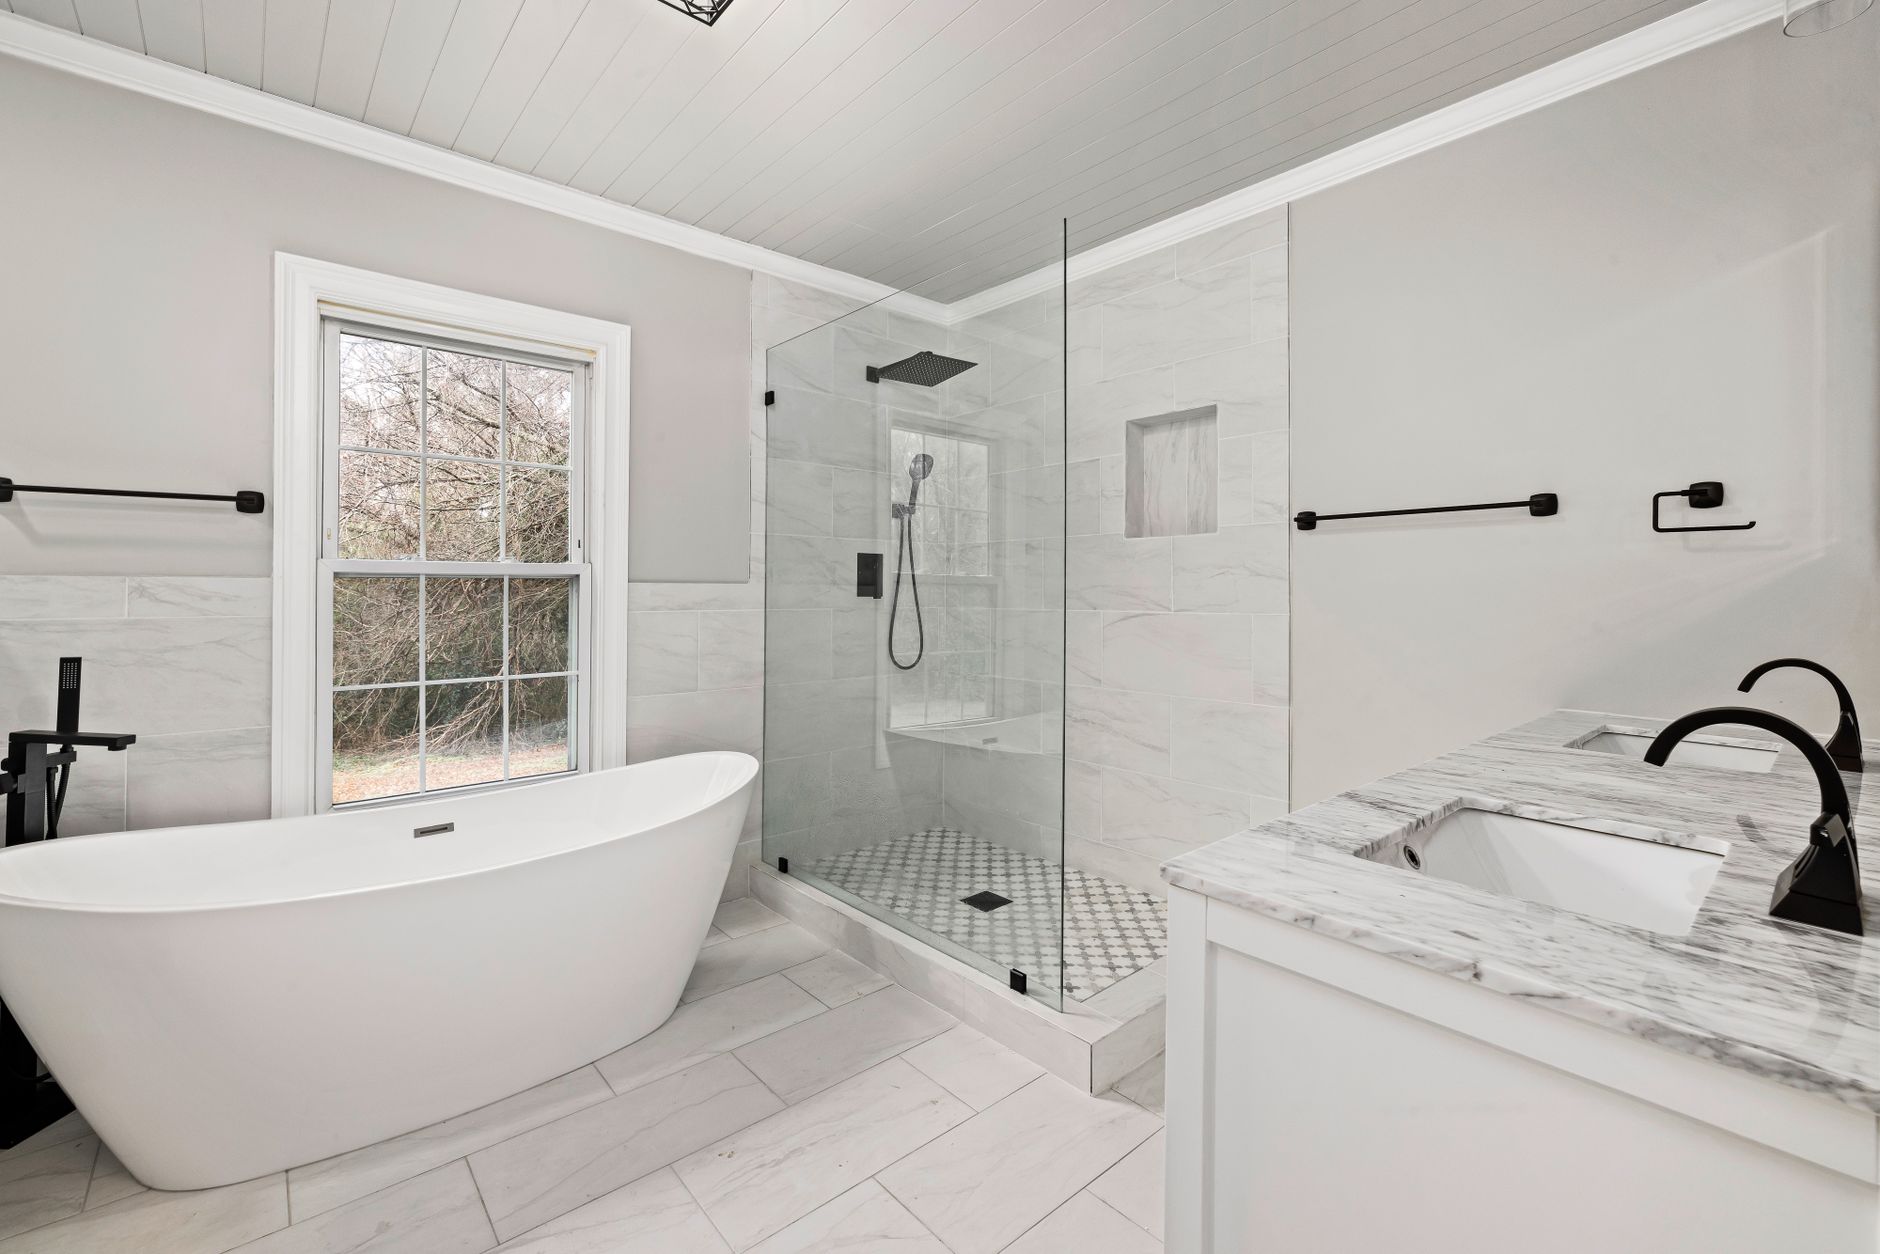
A shower almost never fails at the tile. It fails somewhere under it, quietly, for a year or two, and the first anyone knows about it is a soft spot in the hallway floor, a stain on the garage ceiling, or a smell that comes back every time the water runs. By then the fix is not a repair. It is the whole shower again, plus whatever the water reached on its way out.
That is worth understanding before you pick a tile, because the part of a shower that decides its lifespan gets covered permanently on about day three of the job and is never seen again.
Grout is not waterproof, and it was never supposed to be
Cement grout is porous. Sealer slows absorption, it does not stop it. Water moves through the grout joints, through the thinset, and lands on whatever layer sits beneath. That layer is the shower’s actual waterproofing. Everything above it is a wear surface and a decoration.
Most homeowners who start looking for bathroom remodeling services near me are picturing a tile pattern, a niche and a fixture finish. Those are real decisions and they matter to how the room feels every morning. But whether the remodel is still sound in twenty years comes down to a quarter inch of slope per foot, a membrane that is continuous with no fasteners driven through it, and a flood test that either held or did not. None of that shows up in a photograph.
The stack, from the subfloor up
Slope comes first, before any waterproofing
The single most common defect in a leaking shower is a flat pan sitting under a sloped tile surface. A traditional pan is built in two mud beds. The first one, the pre-slope, goes down on the subfloor and falls toward the drain at a quarter inch per foot. On a five foot pan with a center drain that is roughly five eighths of an inch of drop from the wall to the drain flange. The liner is draped over that slope. The second mud bed goes on top of the liner and repeats the same fall.
Skip the pre-slope and the liner sits dead flat. Water that gets through the tile reaches the liner, has nowhere to go, and stands there permanently. The tile surface still drains, so the shower looks fine. The mud bed stays saturated, and that is the shower that smells.
Pick one waterproofing system and stay inside it
There are two families and they do not mix.
The traditional approach is a PVC or CPE sheet liner with a clamping drain, buried under a mud bed. Water passes through the tile, reaches the liner, runs down the slope, and exits through weep holes in the lower flange of the drain. Those weep holes are the entire drainage path, and they get packed solid with deck mud on a startling number of jobs. A handful of pea gravel or a few broken tile chips around the drain base keeps them open.
The modern approach is a bonded system: a sheet membrane or a liquid applied membrane over a sloped foam or mud substrate, tied into a bonded flange drain. There is no cavity and no weep hole, because the waterproofing plane sits directly under the tile.
Both work. A liquid membrane painted over a clamping drain works in neither direction, because water inside the assembly has no exit and water on top has no seal. Mixing systems is the second most common defect, and it usually comes from two different people working the same pan on different days.
The curb and the corners
Nothing gets fastened through the liner below the top of the curb. Not a screw for the backer board, not a staple, not a tack to hold the liner while it is positioned. On a traditional pan the liner turns up the walls a few inches above the curb and is stapled only along that top edge, above any water that can ever stand there. Curbs get wrapped, never penetrated from above. Inside and outside corners get preformed pieces, or a properly folded and sealed dog ear, because a rough fold with sealant smeared over it is a hinge that opens as the house moves.
The walls
Cement backer board is not a waterproofing layer. It is a stable substrate that does not care about moisture. Left uncoated it passes water straight into the stud bay. Either coat it with a liquid membrane at the manufacturer’s film thickness, checked with a wet mil gauge rather than by eye, or use a foam board panel with taped seams and screws set in sealed washers. Then treat every seam, corner and penetration as its own detail. The valve body, the shower arm and the mixer escutcheon are three separate holes through the waterproofing plane, and each one needs a collar or a sealant detail of its own.
The flood test, which takes an hour and settles the argument
Plug the drain. Fill the pan to about an inch below the top of the curb. Mark the water line with tape or a pencil. Leave it a full 24 hours.
If the line has not moved beyond a little evaporation, the pan is sound and tile can go on. If it dropped, you find out now, with nothing but a mud bed to demolish. There is no substitute for this test and no way to run it later. Ask to see it. Anyone who flood tests as standard practice will offer you a photograph of the taped line before you have to ask for one.
Niches, benches and the details that fail later
A niche is a hole cut into the waterproofing, so it gets waterproofed as an assembly before any tile goes near it. The sill slopes forward about an eighth of an inch so it drains instead of holding a puddle around the shampoo bottle. A one piece preformed niche is far easier to seal than a site built box, and on a wall carrying plumbing it is often the only place a niche can go at all, because it has to live between two studs unless somebody is willing to head off the bay.
Benches slope back toward the drain at an eighth to a quarter inch per foot. A dead flat bench holds water against the wall joint every single day. That joint moves independently of the wall, so it takes flexible sealant, not grout.
The rule extends everywhere. Every change of plane gets sealant: wall to wall, wall to pan, wall to bench, wall to curb. Grout in a moving joint cracks, and a cracked corner joint is a direct path into the framing.
Where jobs go wrong, roughly in the order I find them
A flat pan with no pre-slope. Weep holes packed with mortar. Two waterproofing systems mixed on one pan. Fasteners driven through the liner. Backer board treated as waterproof. Grout run into corners instead of sealant. Tile set on walls that are out of plane. Glass hardware drilled into tile with no blocking behind it.
Almost none of these are visible once the job is finished, which is exactly why they persist. The tile can be beautiful over every one of them.
Flatness, and why the wall matters more than it used to
Large format tile is unforgiving. A wall out of plane by a quarter inch across ten feet used to be tolerable with a small tile, because the error spread itself over dozens of joints. Set a two foot by four foot porcelain panel on that same wall and every deviation reads as lippage at the edges, catching the light along the whole run. Flattening a wall before tile, with shims, a skim of mortar or a rebuilt stud line, is not padding on an estimate. It is the difference between a flat wall and a wavy one.
Glass comes last, for a reason
Glass is measured after the tile is set and grouted, never before. Anyone quoting a fixed panel off a framing dimension is guessing, and glass is the one material on the job that cannot be trimmed on site. Heavier frameless panels need solid blocking behind the tile at the hinge locations, and that blocking has to go in during framing, weeks before anyone is thinking about glass. Deciding on frameless late is one of the few choices that can push a job backwards instead of forwards.
What actually drives the price
Square footage matters less than people expect. What moves the number is whether the drain has to be relocated, whether the valve inside the wall is being replaced, how many niches and benches are being built, the tile format and the layout pattern, and whether the curb is coming out for a curbless entry. Curbless is a structural question rather than a tiling one, because the floor has to drop or be built up to make the transition work at the door.
A realistic sequence
Demolition and haul out. Rough plumbing and any electrical, then an inspection where one is required. Backer board and waterproofing. Flood test, overnight. Pan mud and tile setting. Grout, then a rest before it gets wet. Fixtures and trim. Glass template, then glass, usually a week or two after that.
Nobody enjoys flood test day, because from the outside it looks like a day where nothing happened. It is the one day of the job that can save you the entire job.
Need help in Lakewood?
Call (562) 840-7481